公開日 2015.11.14
最終更新日 2023.03.23

ゲーミングPCでSLI構成に変更する方法
※検証 e-TAMAYAのレンタルゲーミングPC (Windows10)を使用
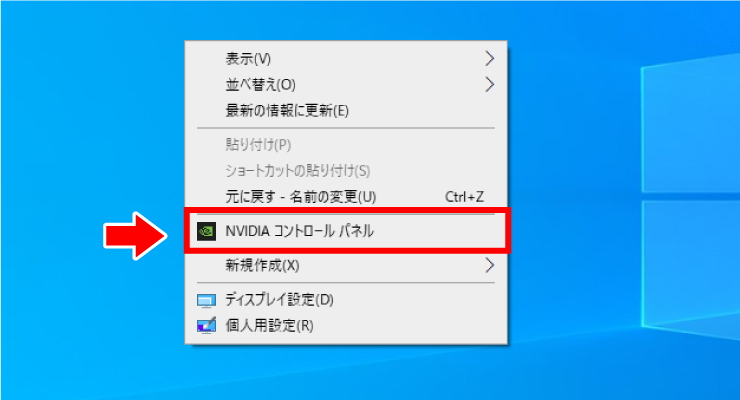
❶ デスクトップ上でマウスを右クリックし「NVIDIAコントロールパネル」を選択します
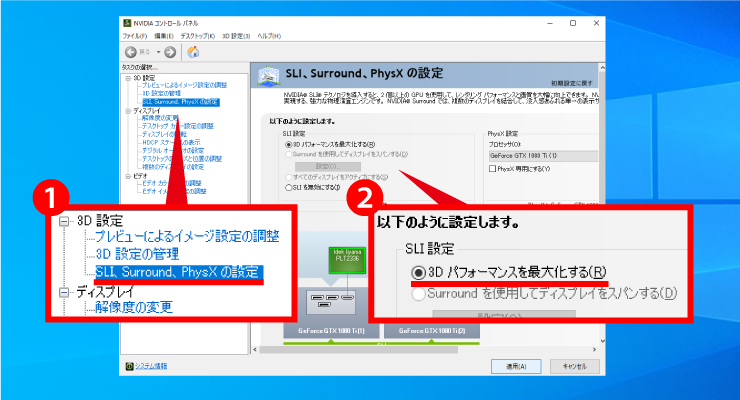
❷ 「NVIDIAコントロールパネル」の「3D設定」内の「SLI、Surround、PhysXの設定」から
「3Dパフォーマンスを最大化する」をチェックします
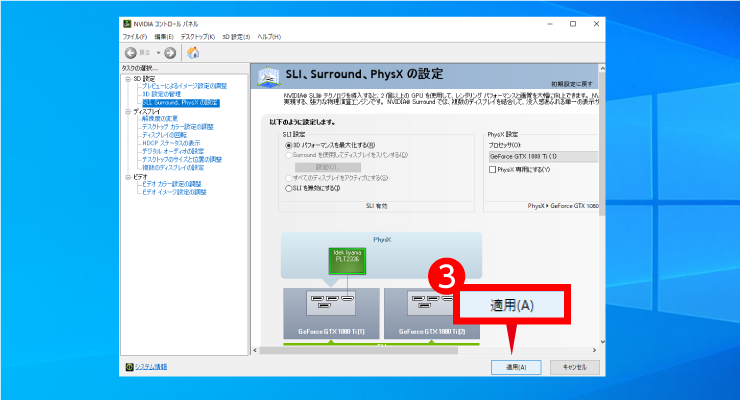
❸ 「適用」をクリックします
※下記の表示が出た場合
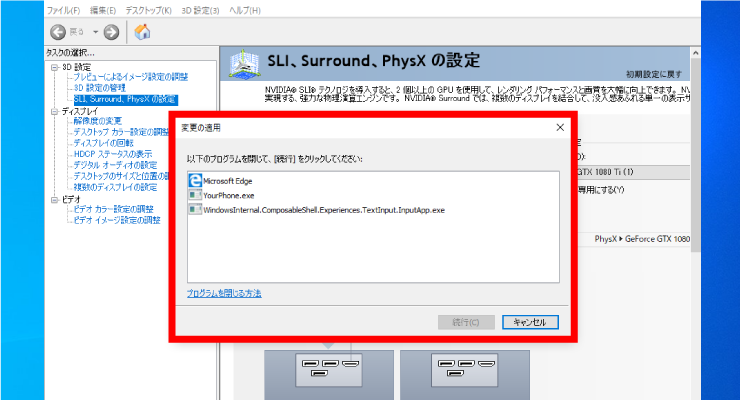
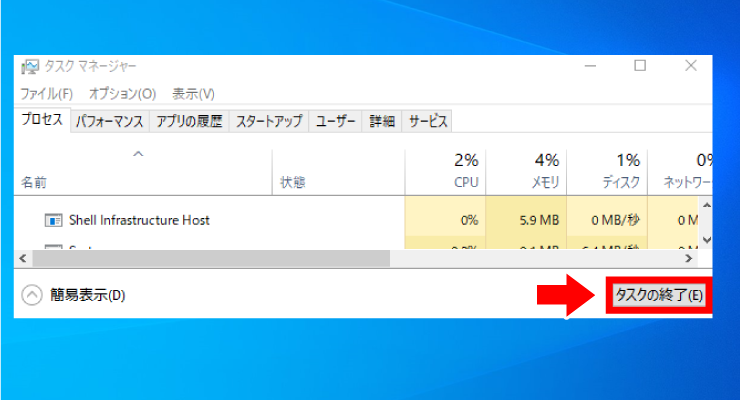
・タスクマネージャーを開いて該当プロセスを終了させてください
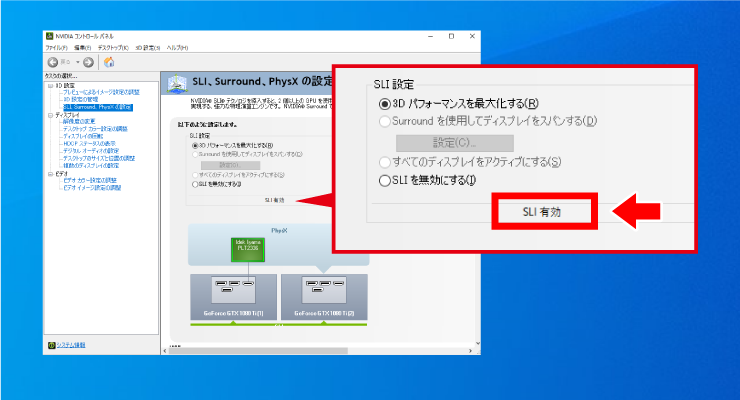
❹ 「SLI有効」と表示されていれば設定完了です